Canon SD400 LCD Repair
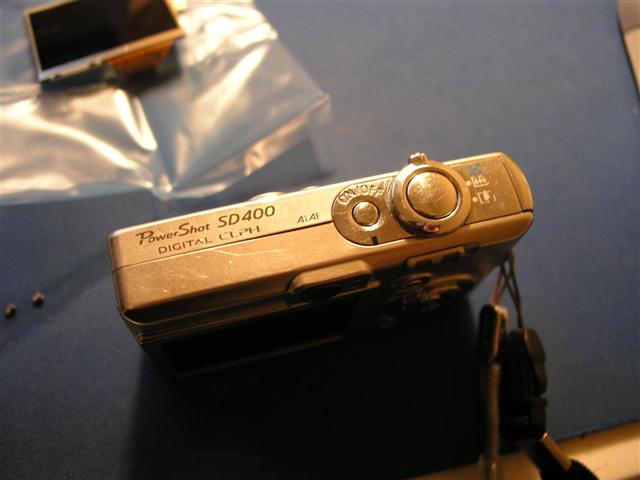
So, I abused the hell out of my camera. It rode in my back pocket as I stumbled through the last few months and I ended up smashing the screen on my Canon SD400 (sometimes known as the IXUS 50.) It was not the camera it once was. Note the dents, scratches and the fact that all the coloring around the optics is gone. Despite broken screen, I’m pretty happy with the amount of abuse it absorbed. The camera still worked and took pictures despite not having a working screen, but the optical viewfinder was all clogged with dirt and I was attempting to navigate the menus from memory and without feedback. It sucked.

This was sad, so I started googling for the possibility of a user replaceable screen and while what I found certainly voids the warranty faster than throwing the camera under the wheels of a moving van, it worked. Nuts to you warranty.
Andy Ozment has a nice (if google adword covered) multi-model write-up about repairing the screens, but no pictures. I *guess* this is an understandable side-effect of writing a guide on repairing a camera, many people might find it tough to photograph the repair while trying to repair the object that would be used to take photographs. I am not one of those people. Oh, now is as good a time as any I guess:
Perform at your own risk. This shit WILL void your warranty, oh god don’t sue me
Here we go.
- I got a new screen from Foto Geeks it came in a silly little box and seemed tiny for costing 65bux.
- From reading on the internet I took a guess that my backlight was *NOT* broken, the chief indicator of its well being was the glow it gave off through the shattered screen, this is good. I don’t know where you can order a new backlight, but I’m pretty sure you could replace it in nearly the same method I use here
- I used two Craftsman Professional screwdrivers, a flat head 3/32×2-1/2, and a philips 00×2-1/2. I love these screwdrivers ’cause I’m pretty sure you could prison stab someone with them and my Dad gave them to me. (thanks Dad)
- You’ll also need Scotch Tape, a Post-it note and scissors.
First, remove the battery and memory card, I guess you should also be worried about static discharge frying the camera, but I did this repair whilst wearing socks on the carpet, I think you’ll be fine. I’m fairly sure that static electricity doesn’t really exist.
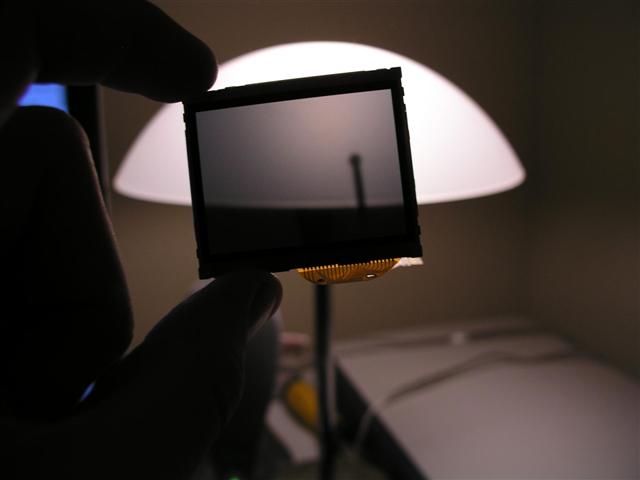
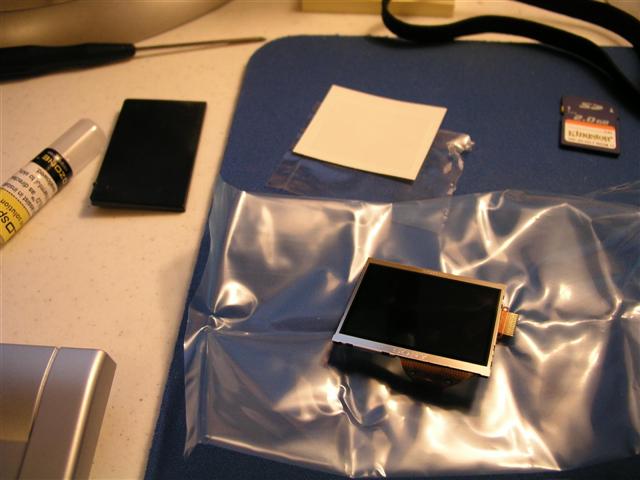
Here’s the unboxed replacement SD400 LCD screen. I tried to keep the new screen as dust free as possible so as not to trap any crud under it during installation. Determining the orientation is going to be important later, so notice that the screen has two distinct sides.
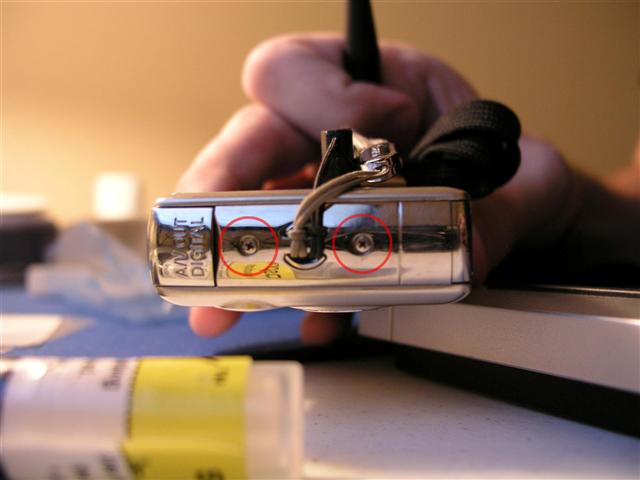
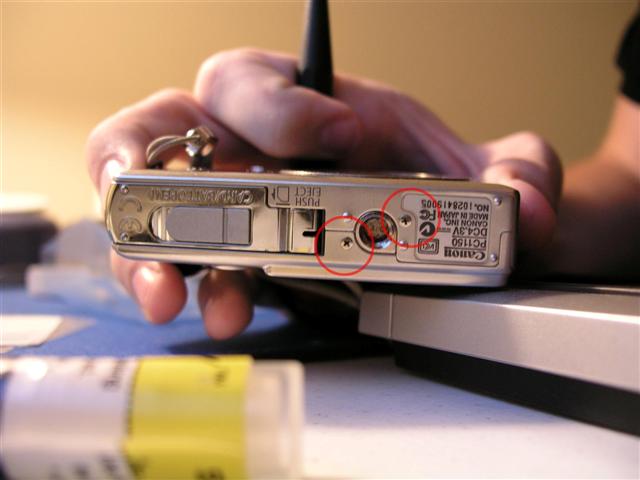
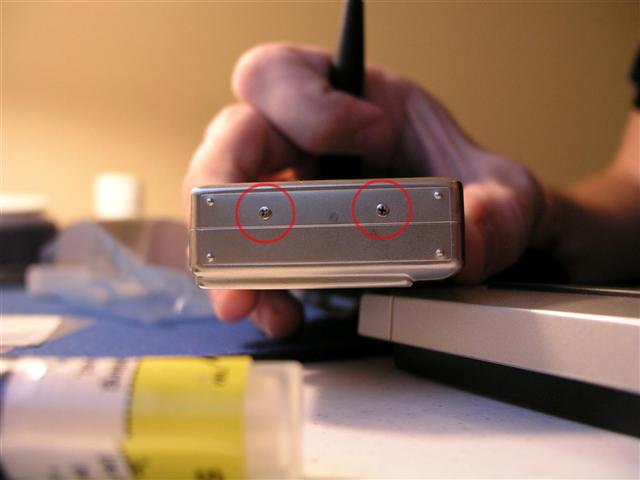
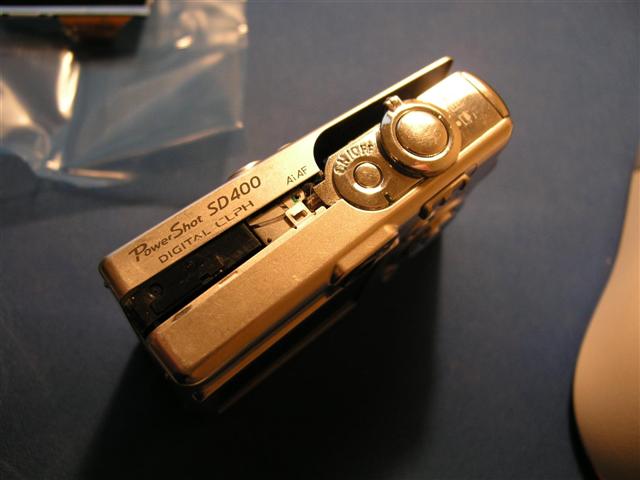
There are six screws on the exterior of the camera, REMOVE THEM!
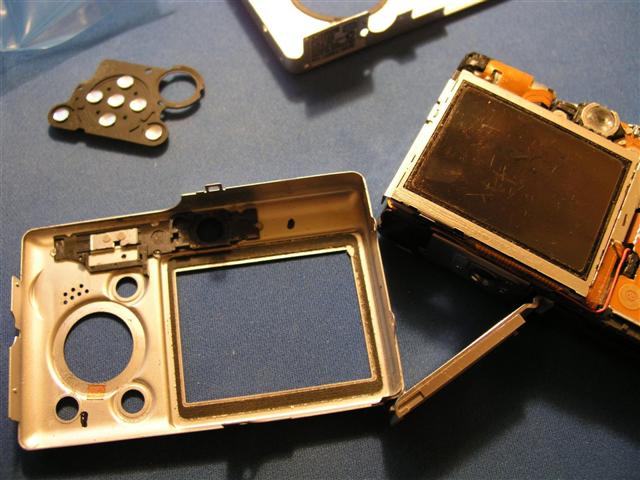
When all the screws are out, pull the two overlapping halves of the camera apart, being careful as it is possible to bend the metal.
Parts that will fall out:
- Silvery plastic circle thing.
- Rectangular silver mount for the wrist strap
- Buttons
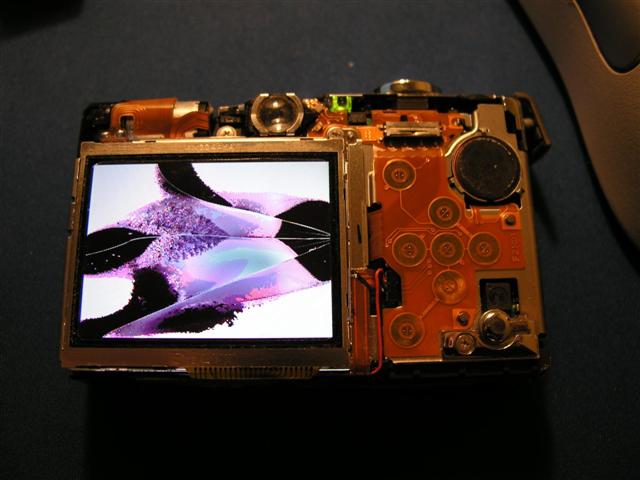
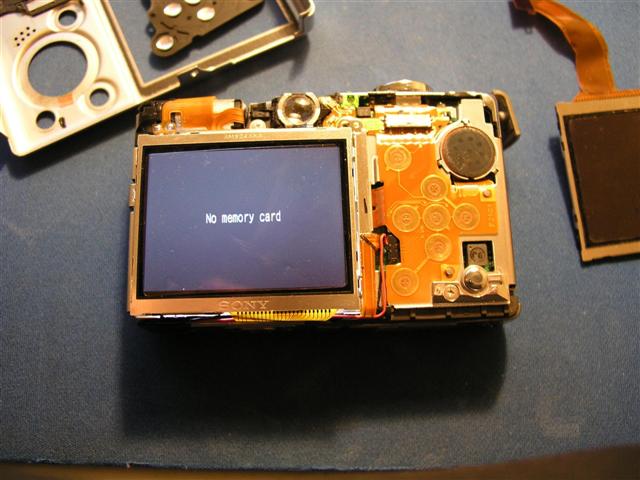
I did a powerup here to check that I hadn’t messed anything up at this point, and ’cause I didn’t have a picture of the screen in all it’s glory.
This may have been a shock risk or just stupid, I don’t know.
At this point I installed an InvisibleSHIELD on the new screen while it was still outside the camera
Removal of screw number 7, this screw is a different size than the others, so don’t get it mixed up.
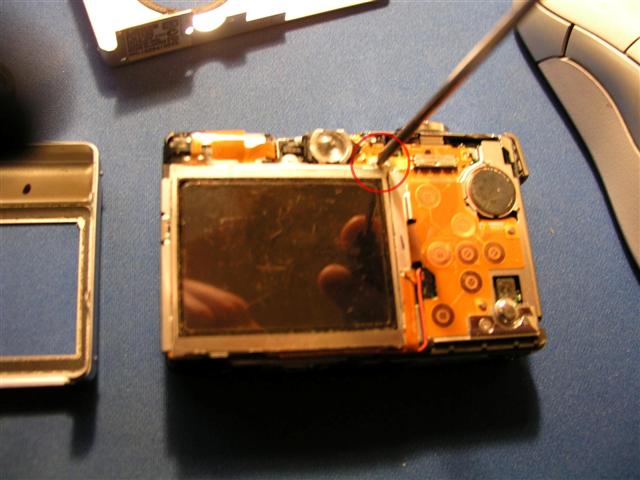
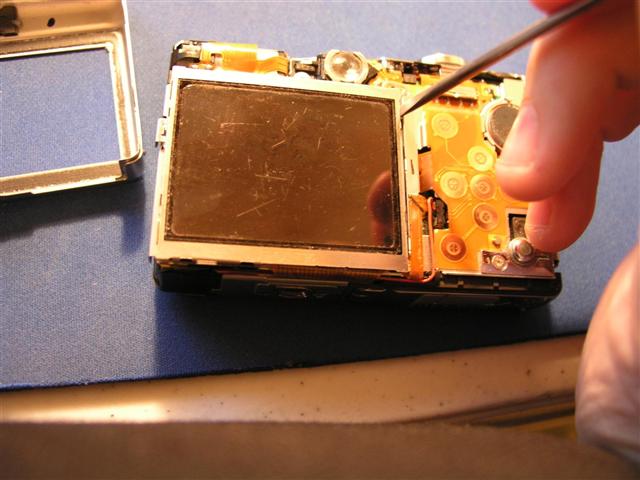
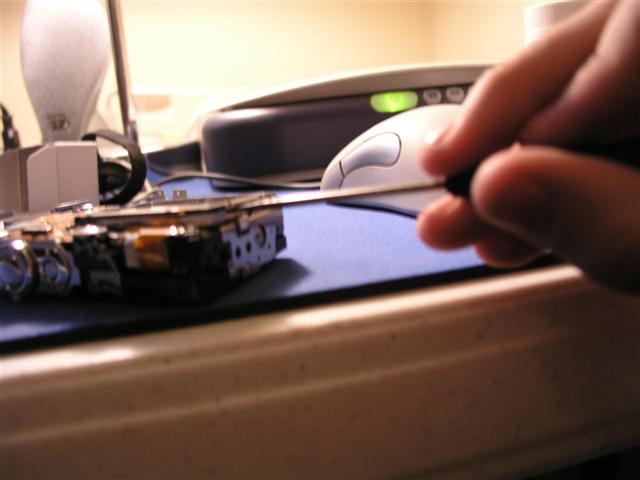
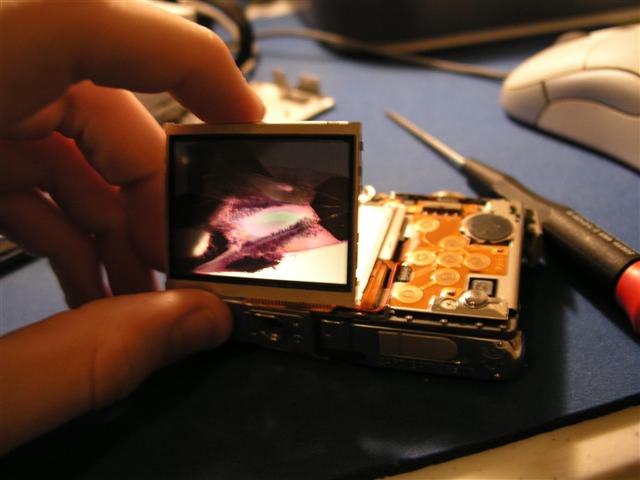
This is one of the hardest parts of the whole procedure. The backlight and LCD are held together with a series of metal clips that have to be freed before you can replace the screen. I used a small flat head screwdriver to wedge in between the two and try to get the claps undone. This is also the part I have the worst pictures of. The goal is not to get the LCD off right now; it’s just to get it detached from the backlight.
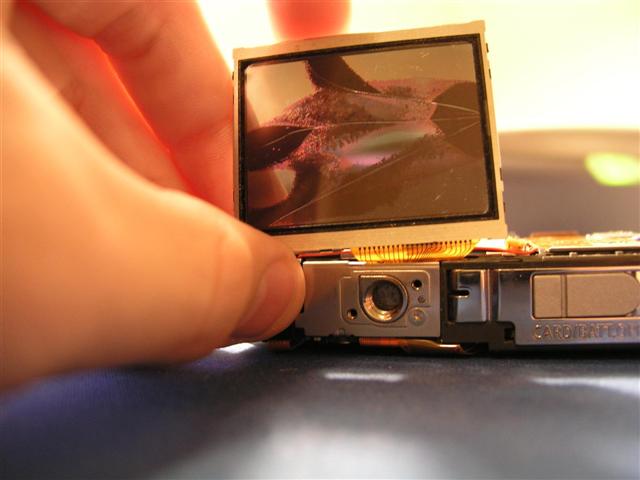
When it comes loose, you’re going to want to slide it to the left before you lift it up like the pictures shows. There’s a few little catches that you don’t want to break off, but sliding the screen out a little bit before lifting should avoid this.
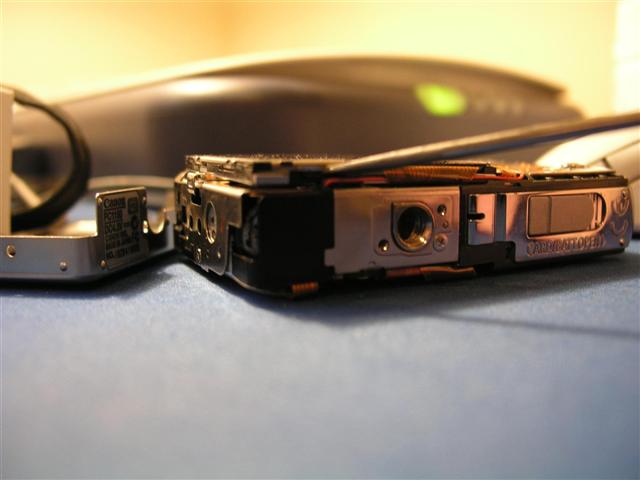
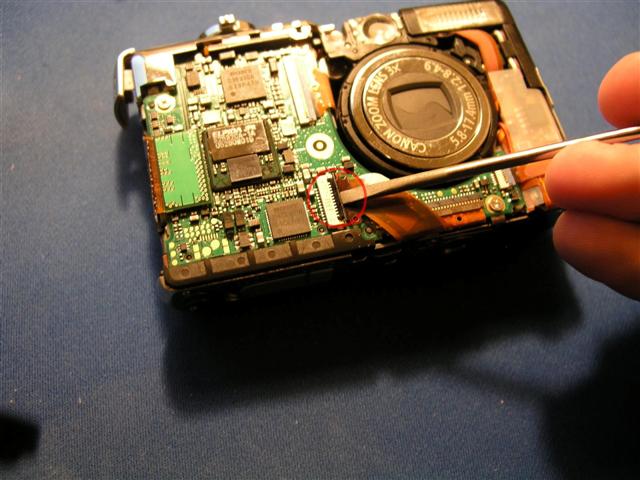
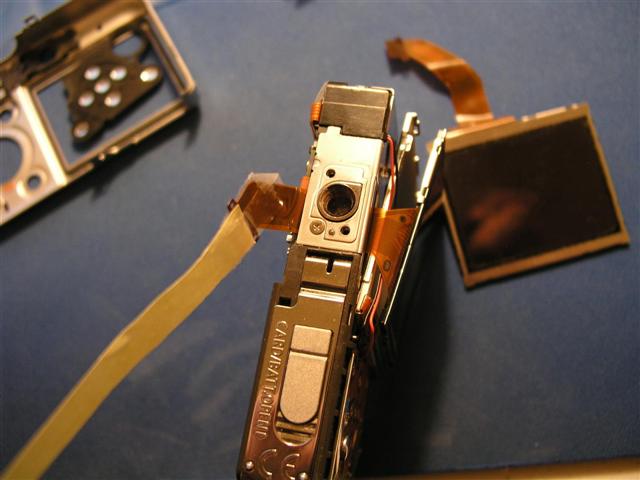
Flip the camera over and using the screwdriver, lift up the small black plastic gate holding the ribbon cable in, and pull it out.
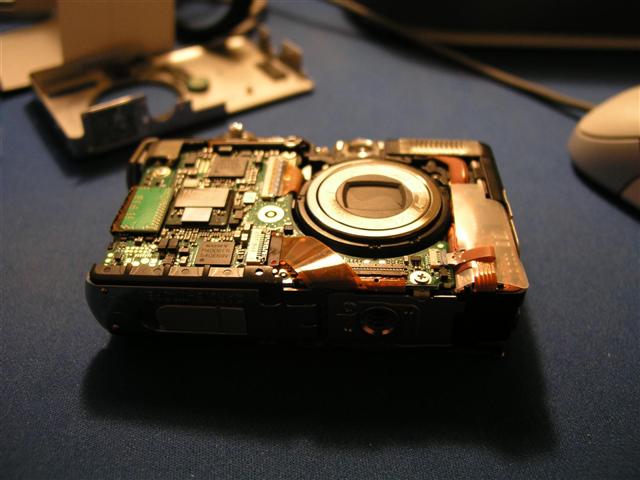
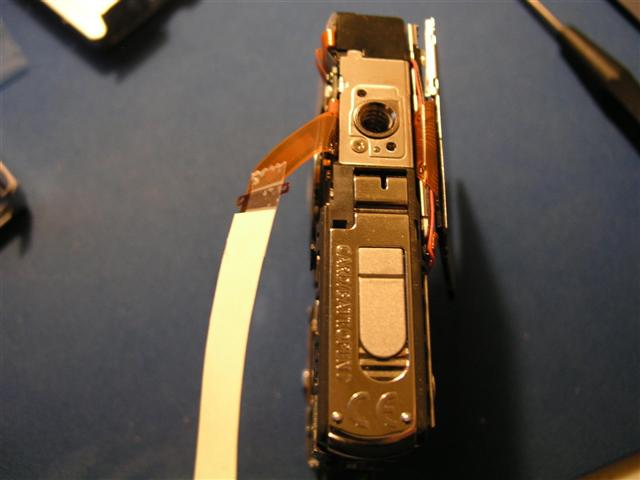
Now comes the really unpleasant part. The ribbon cable is threaded through the internals of the camera, if you pull it free, it’ll be very hard to get the new cable back through. That’s where the tape and Post-its come in; you can use them to make yourself a little retrieval cable and pull both the ribbon cable and the post-it through. You can then use that same bit of paper to guide the new ribbon back through.
Make sure that the new screen is going on in the same orientation as the old one; there likely won’t be room to turn the ribbon over when you get it threaded.
Here’s the old screen with retrieval post-it attached and ready to go
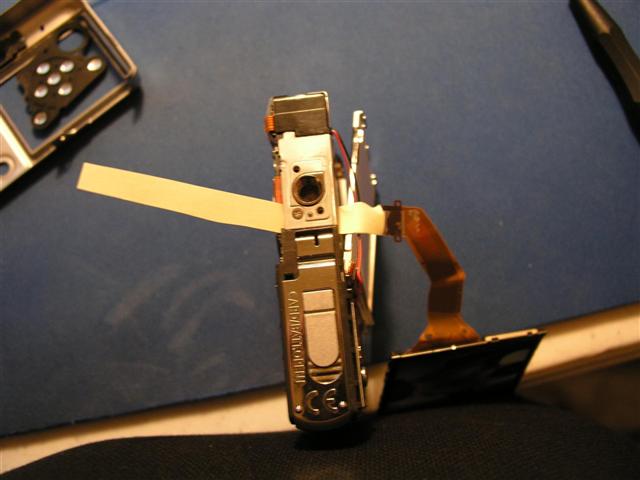
Now the old screen, ribbon, and post-it have been pulled through.
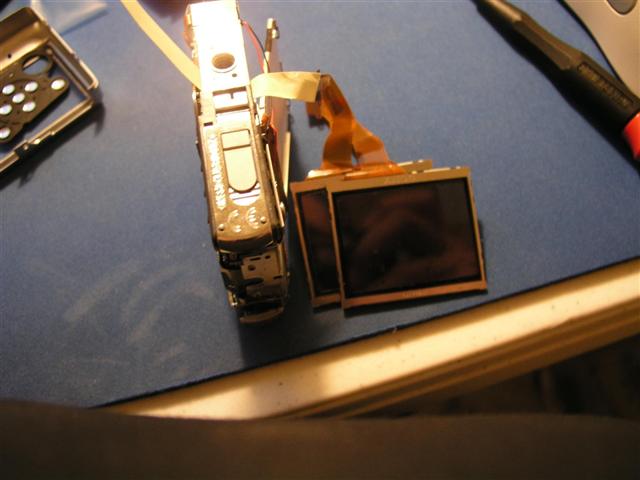
Transfer of the post-it from the old screen to the new one, with the new screen in the correct orientation
Threading of the new ribbon through the cameras internals, this would be quite hard without the post-it already in place as the path inside the camera goes up and down. Also consider applying tape to both sides of the ribbon/post-it interface to make sure nothing gets snagged inside the camera.
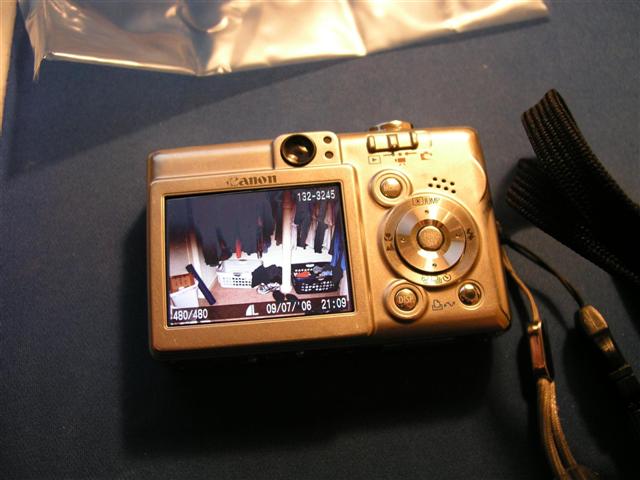
When you have the ribbon cable back through, reseat it very deeply into the channel and lock the gate back down. Then give the camera a power on:
Counter-Terrorists WIN!
Put it back together and do a little dance, that wasn’t so bad.
(that’s a picture of my closet.)
